
Light and color
Select single-color white, tunable white, RGB, RGBW, or addressable strip according to the required architectural scene, color quality, dimming behavior, and control experience.
Professional systems for the United States & Canada
ban@grouprsh.comA project-configured LED strip system combining the light source, aluminum profile, driver, controller, wiring, connectors, protection, and service parts.
Build a complete LED strip lighting package with matched strip lights, drivers, controls, solderless connections, aluminum profiles, and waterproof installation accessories.
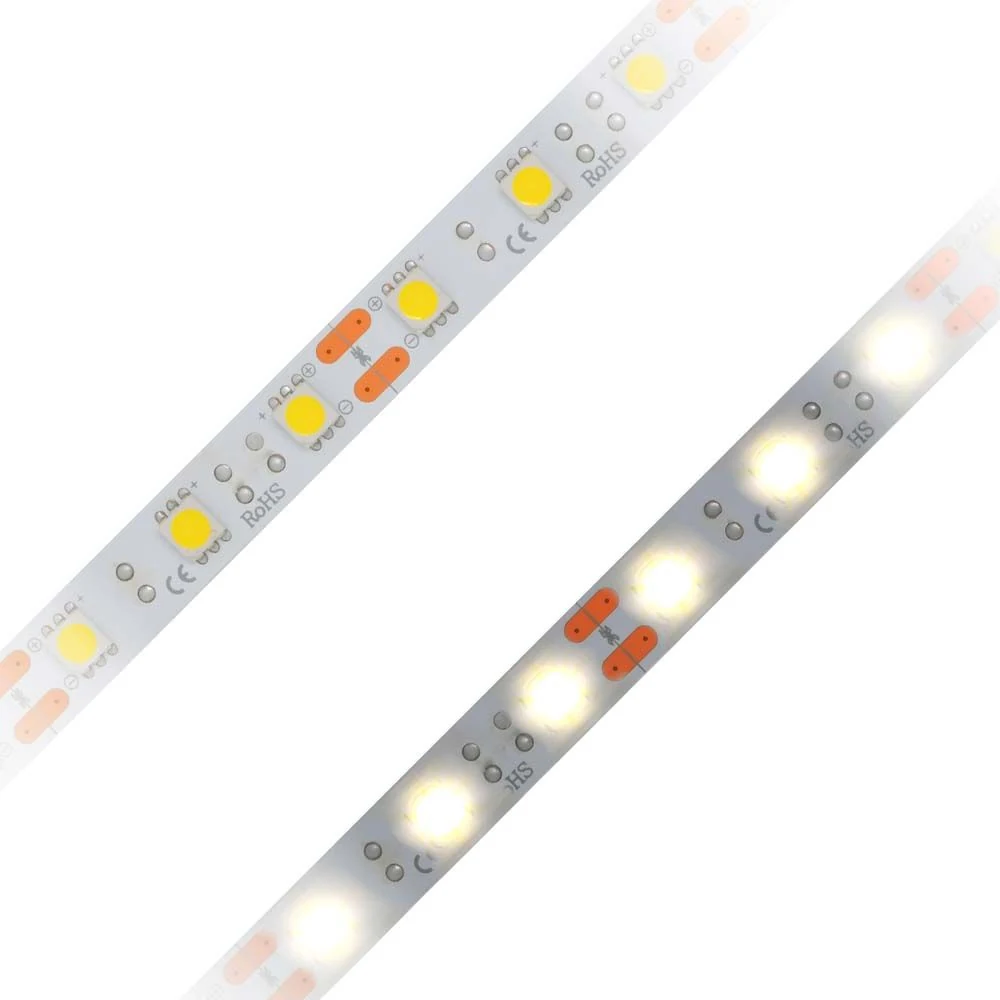
Provides flexible linear illumination for coves, cabinets, displays, architectural details, and commercial decorative lighting projects.
Flexible, cuttable linear lightingView product details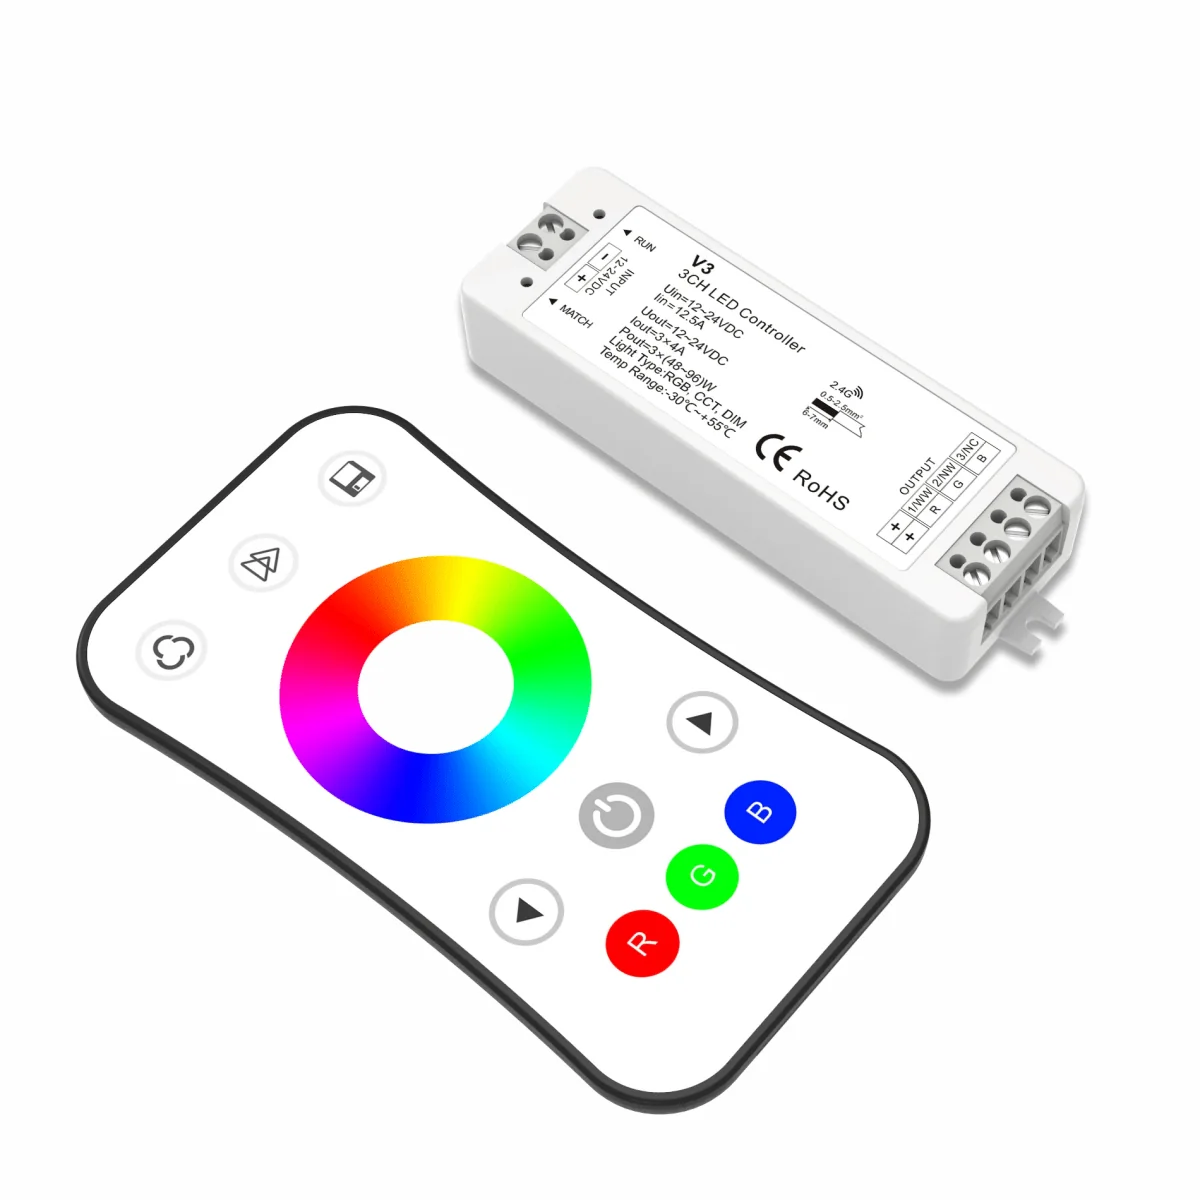
Adjusts color, brightness, scenes, and operating modes for compatible single-color, CCT, RGB, or RGBW strip light systems.
Color, brightness, and scene controlView product details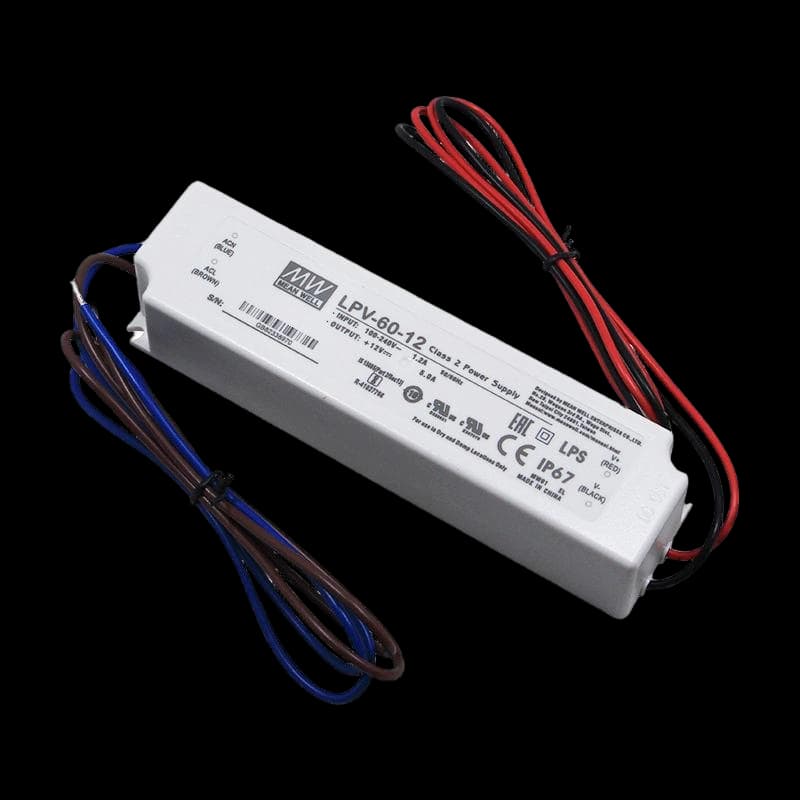
Converts mains power to the stable low-voltage output required by the selected LED strip and project load.
Matched 12V and 24V system powerView product details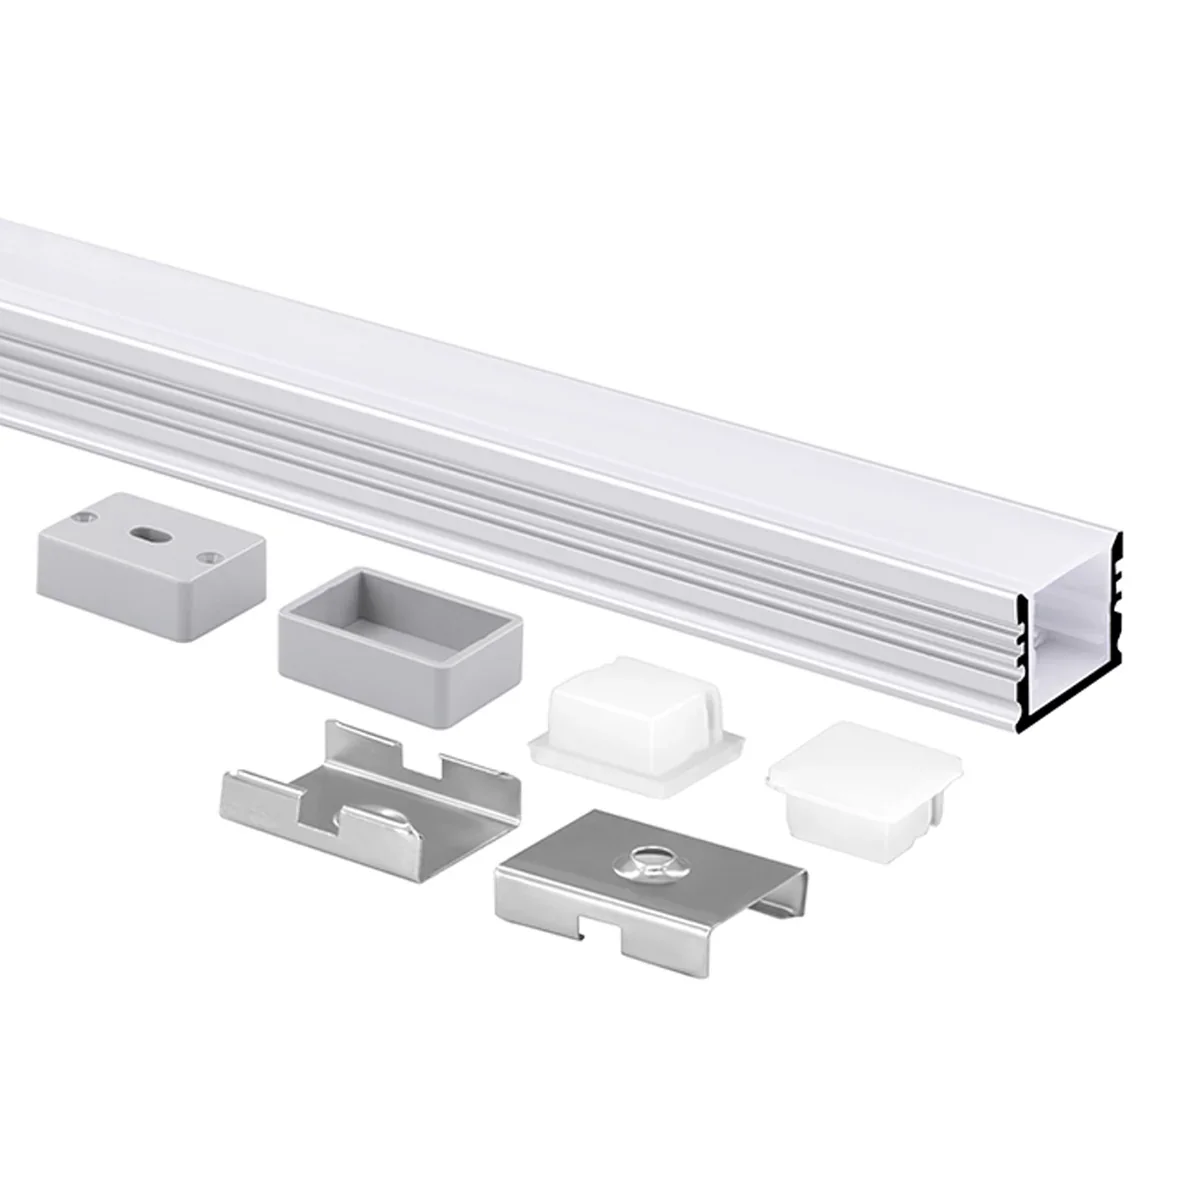
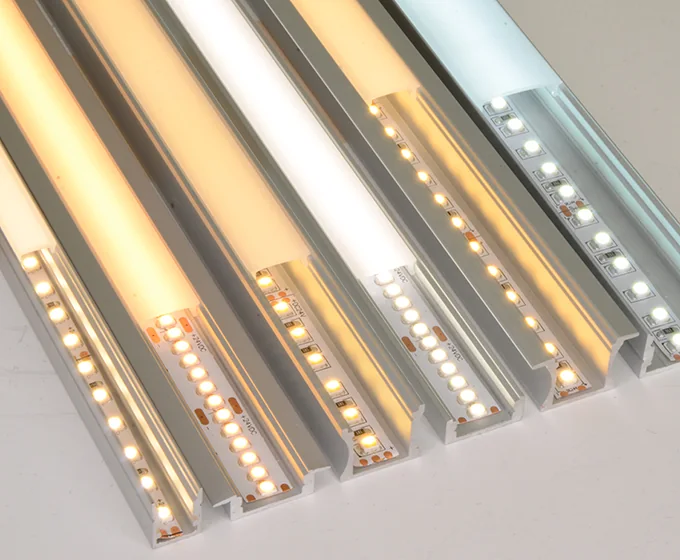
Supports cleaner installation, heat management, physical protection, and more uniform light diffusion along finished surfaces.
Profiles, diffusers, clips, and end capsView product details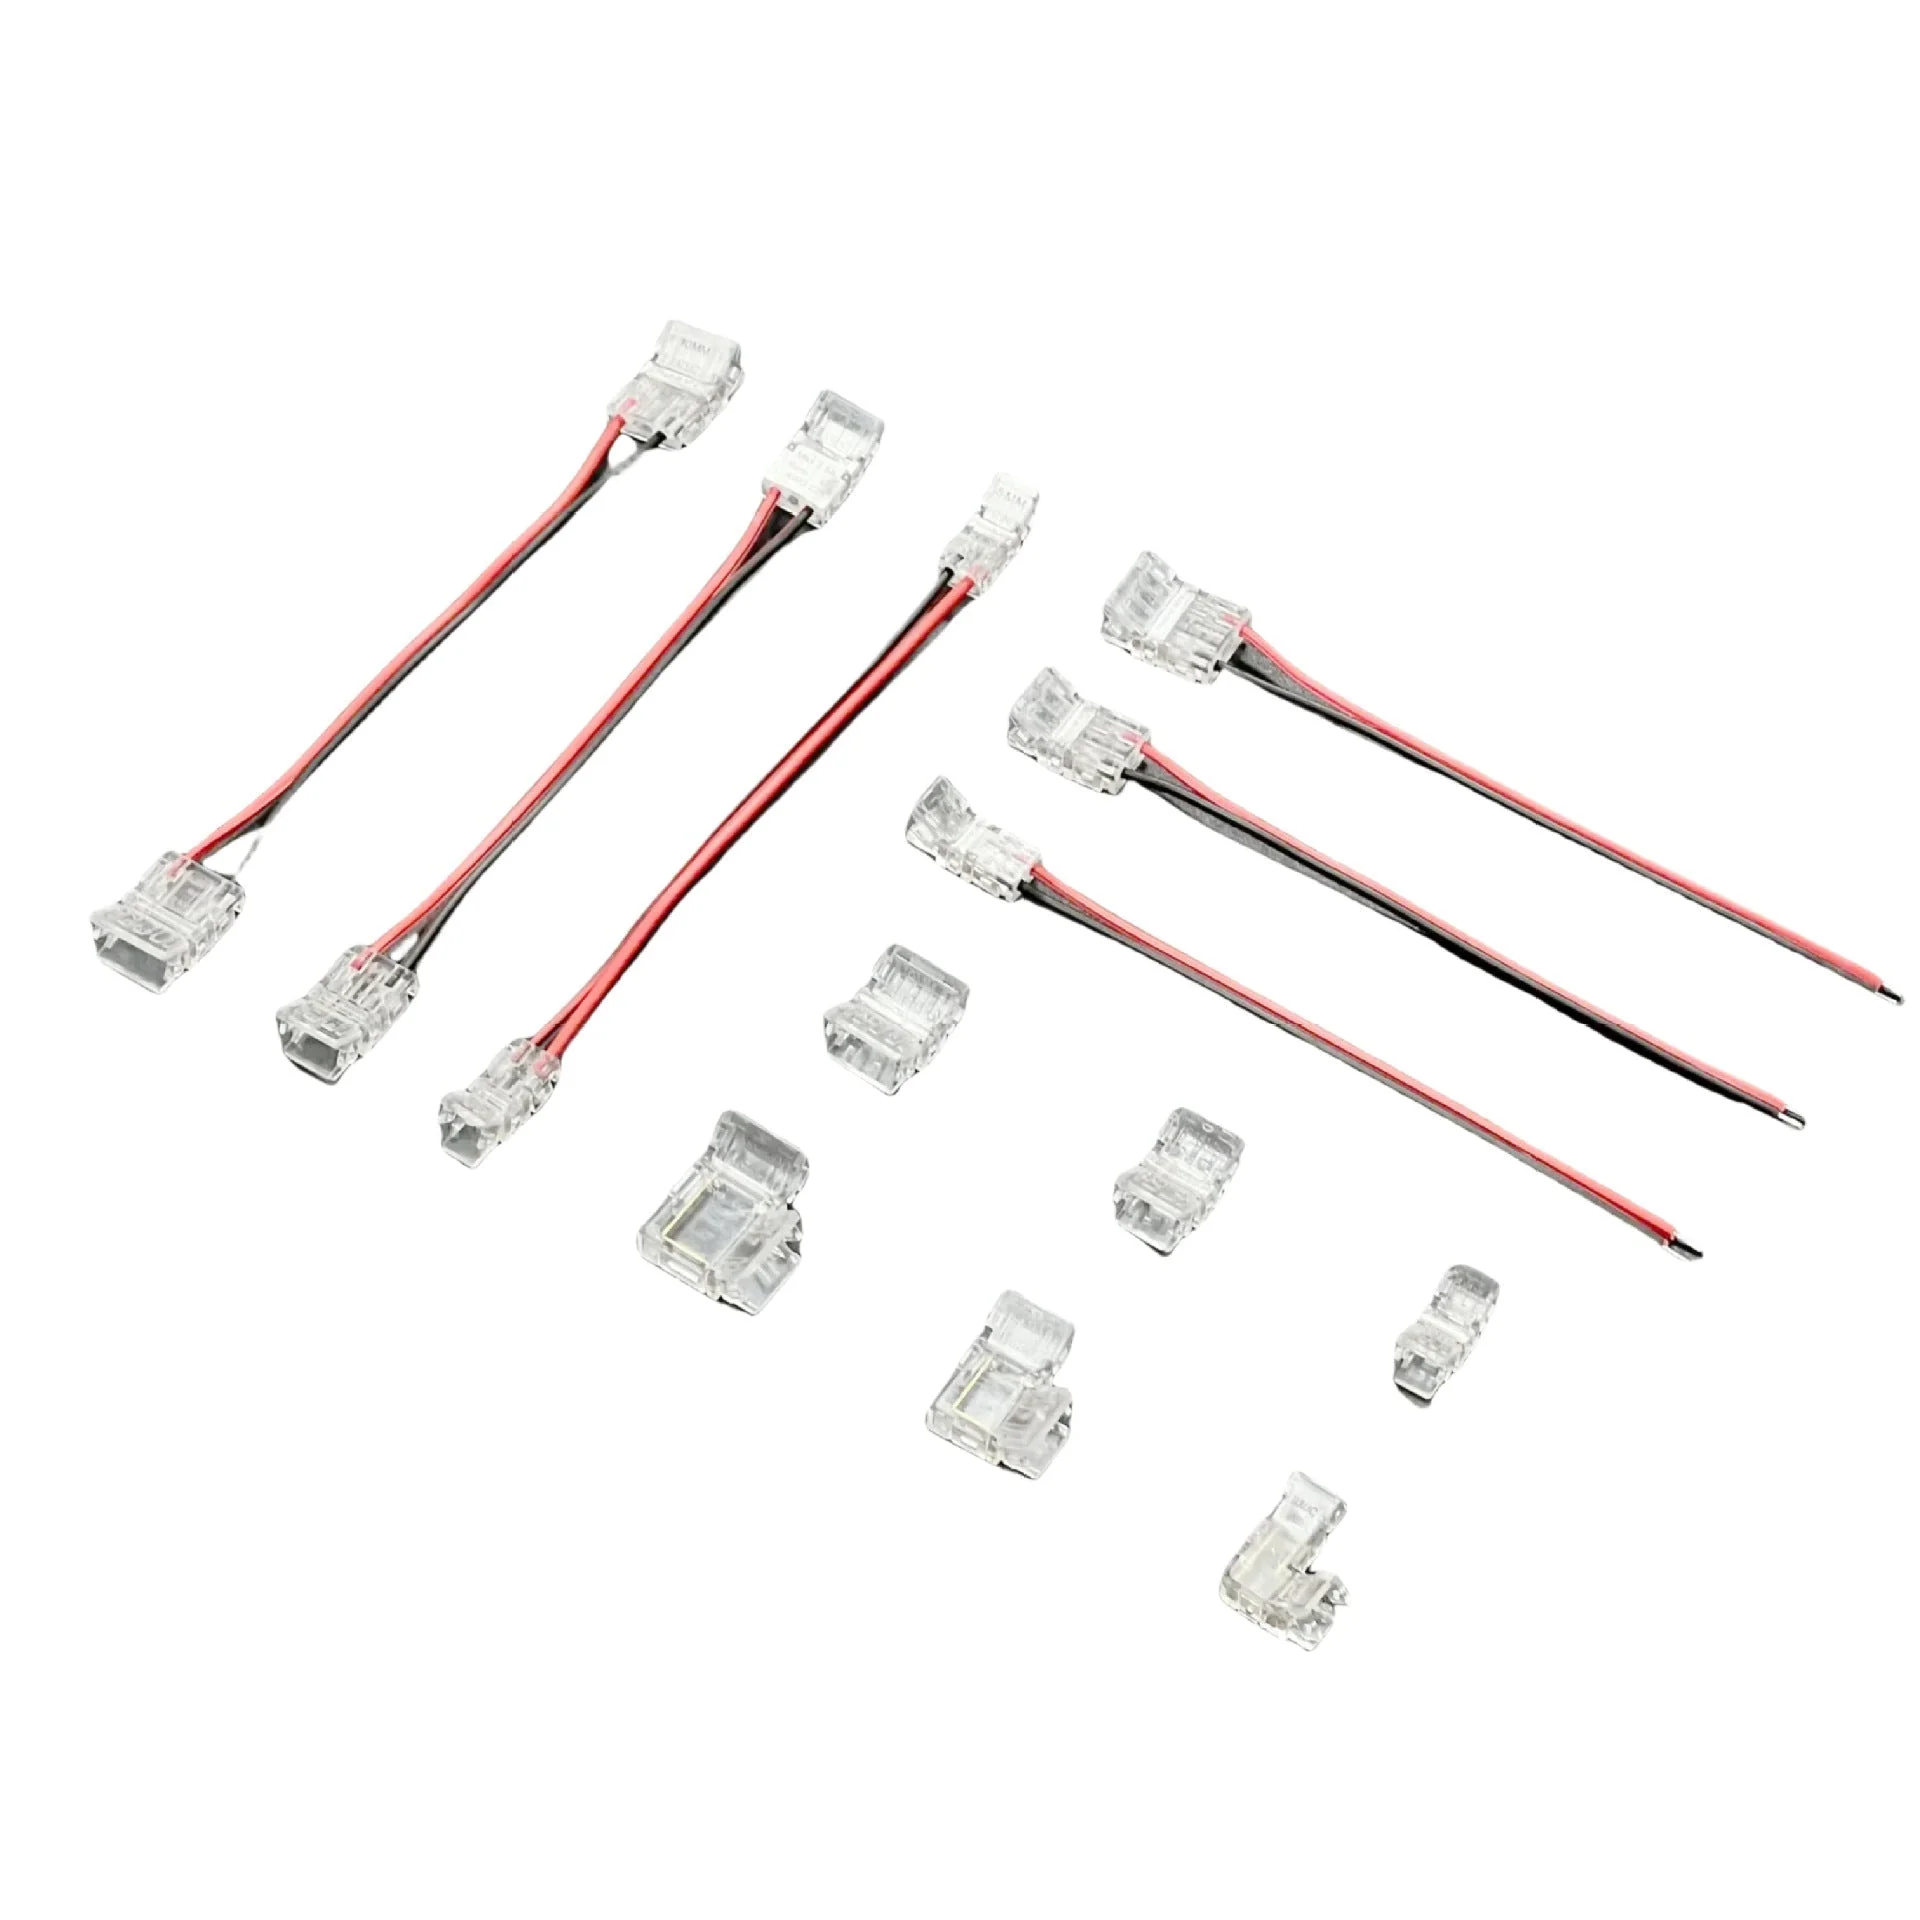
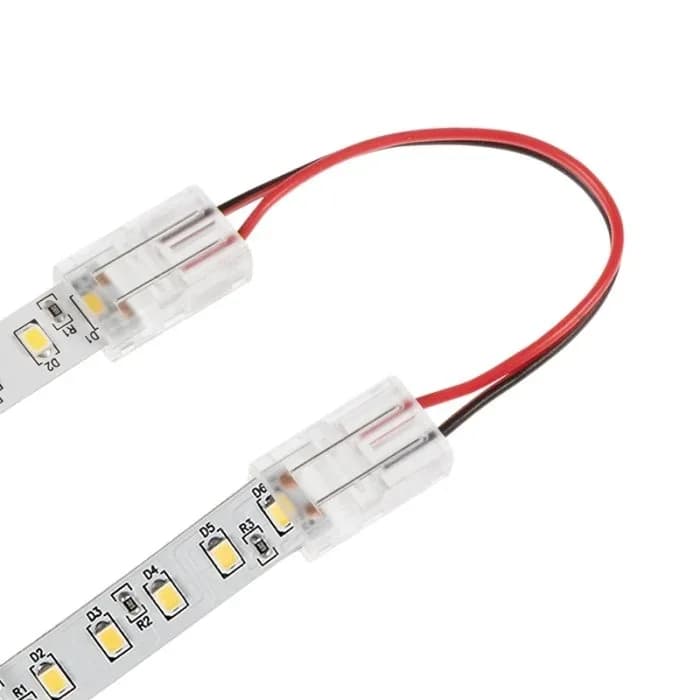
Connects cut strip sections to power, extensions, or adjacent runs while simplifying field assembly and maintenance.
Solderless strip and wire connectionsView product details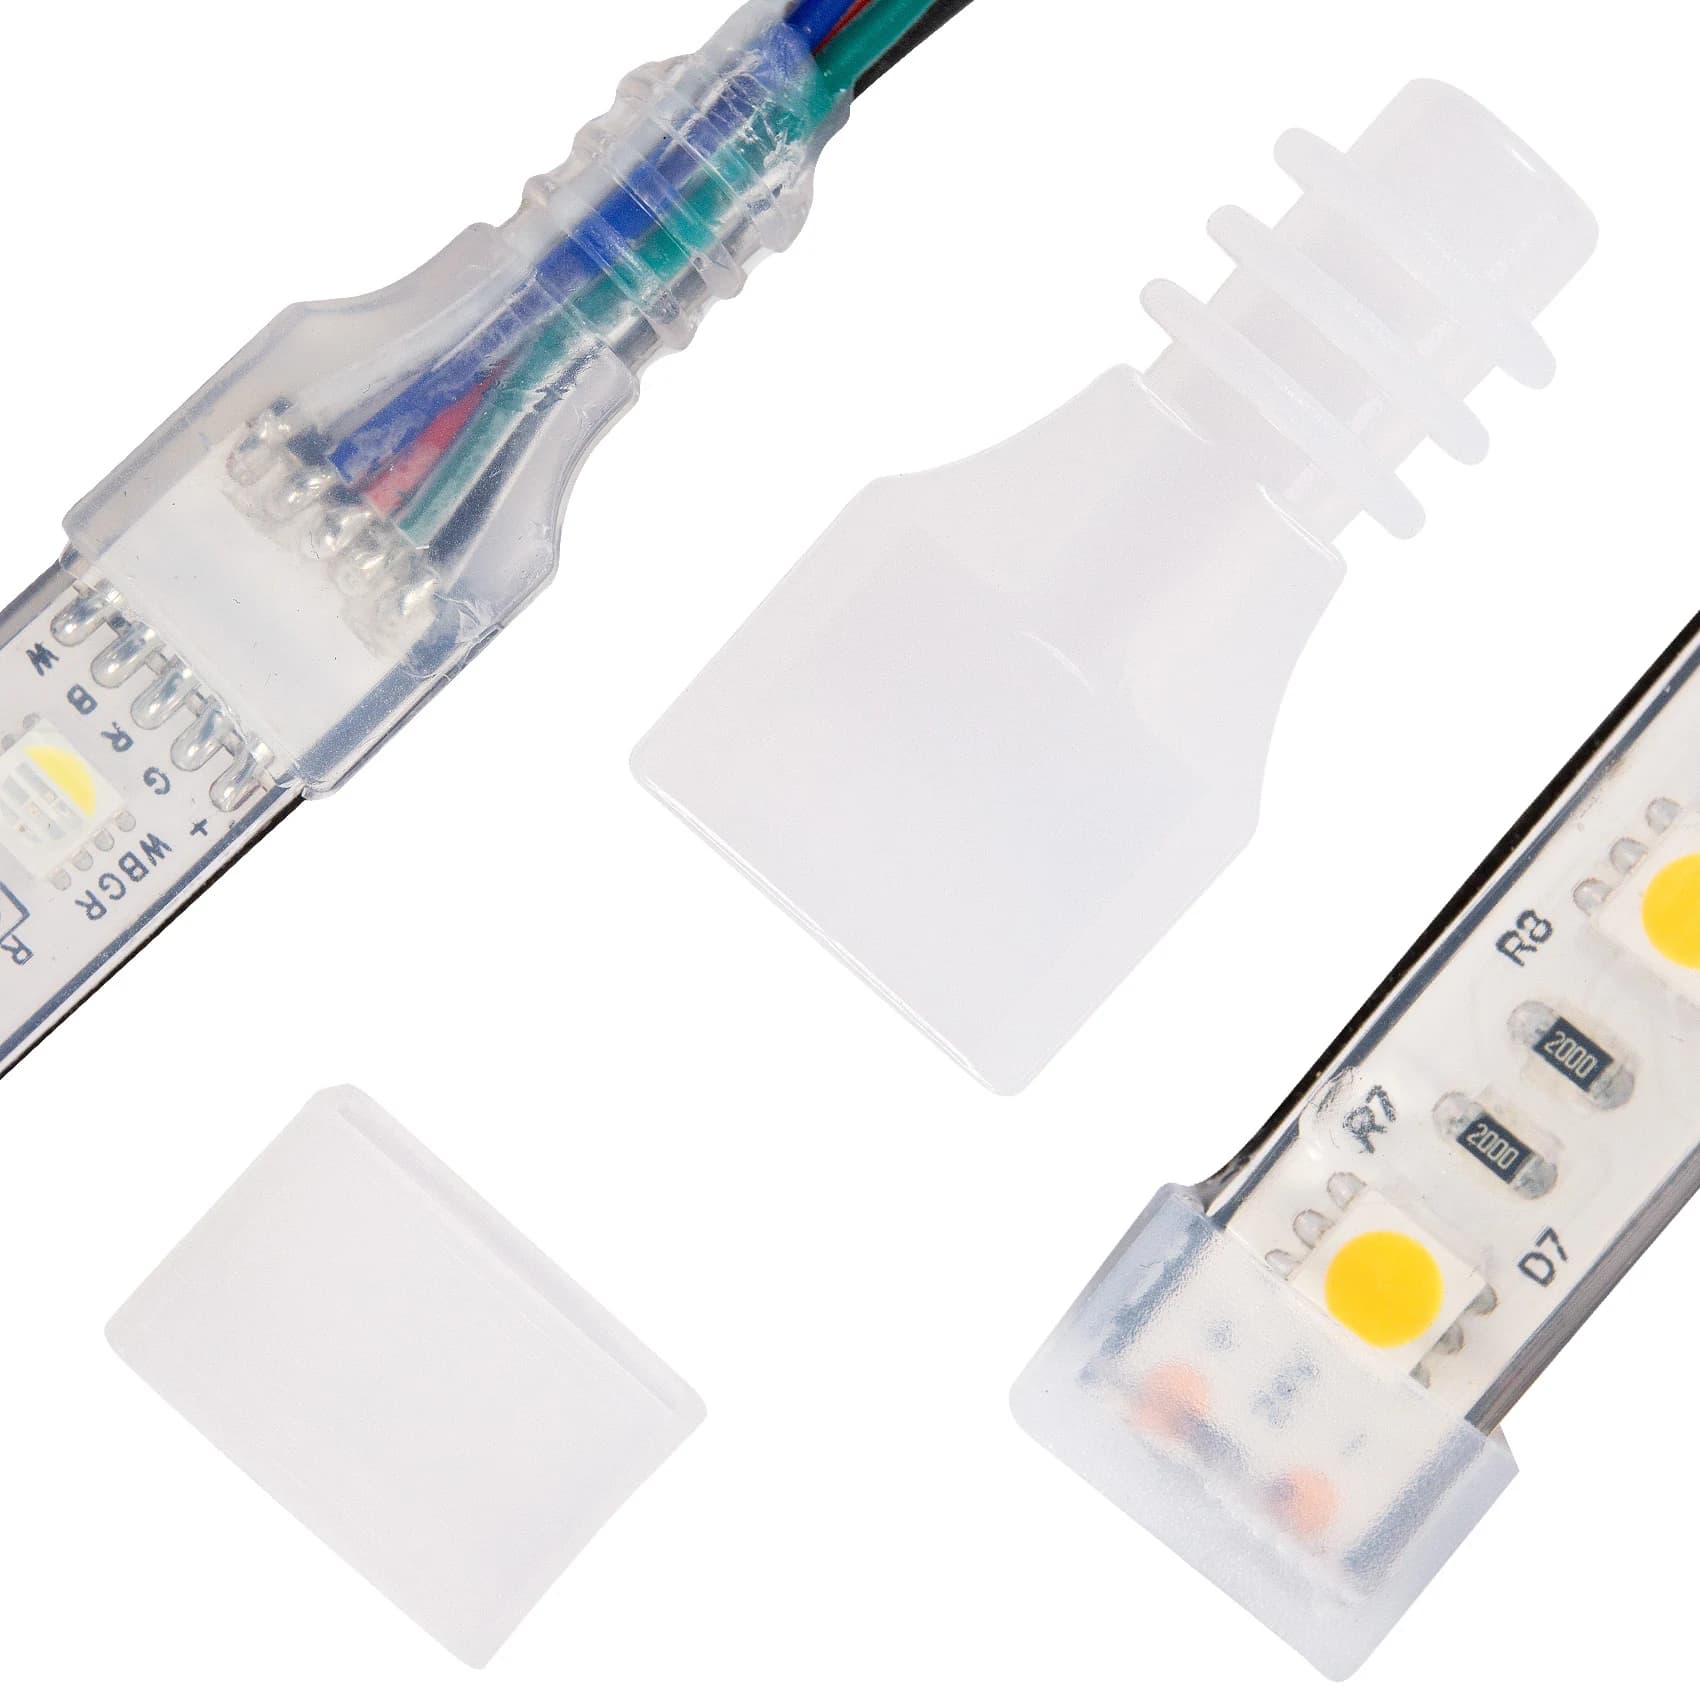
Seals exposed strip ends and connection points to improve moisture protection in outdoor and wet-location installations.
Sealed connections for outdoor projectsView product detailsLED strip systems support coves, cabinets, shelves, stairs, façades, landscape edges, signage, hospitality interiors, retail displays, and architectural outlines. We configure the strip, profile, driver, controller, wiring, connectors, protection, and service parts as one coordinated package rather than supplying an isolated roll of LEDs.
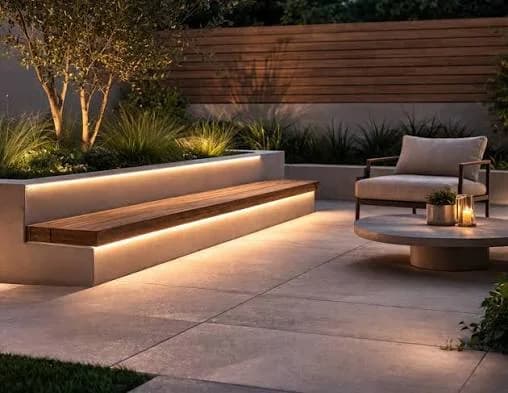
Every component is selected from the project conditions and required lighting result.
Select single-color white, tunable white, RGB, RGBW, or addressable strip according to the required architectural scene, color quality, dimming behavior, and control experience.
LED density, lumens per metre, wattage, beam diffusion, color temperature, and CRI are chosen around the viewing distance, ambient light, task, and desired dot-free appearance.
System voltage, strip wattage, feed direction, wire gauge, controller capacity, driver location, and voltage drop determine the practical length of each run and where additional feeds may be required.
Dry interiors, damp areas, exposed façades, landscape edges, and wash-down locations require different strip protection, connectors, profiles, drainage, sealing, and service access.
A typical package may include LED strip, aluminum profile and diffuser, matched constant-voltage driver, dimmer or controller, low-voltage cable, connectors, end caps, mounting hardware, sealing materials, labels, and replacement stock.
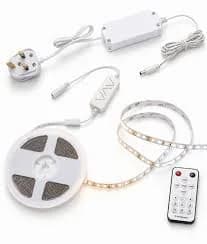
The starting load is calculated from strip wattage per metre multiplied by the installed length. Driver capacity then needs appropriate design margin and must remain within its rated environment and operating conditions.
Long runs are divided according to the strip voltage, conductor size, permitted voltage drop, feed direction, controller rating, and visual uniformity requirements. Additional feeds or shorter parallel runs may be preferable to one long daisy chain.
Watts per metre × installed metres, checked for every zone and strip type.
Voltage, wattage, dimming protocol, enclosure, location, and project margin must agree.
Review cable length, gauge, feed points, connectors, strip voltage, and maximum run guidance.
Keep drivers, controllers, junctions, and critical connectors accessible for testing and maintenance.
Record every illuminated length, corner, transition, mounting surface, driver location, control zone, cable path, and service point.
Confirm strip voltage and watts per metre, calculate total load, allow suitable driver capacity, and check voltage drop and controller limits for every run.
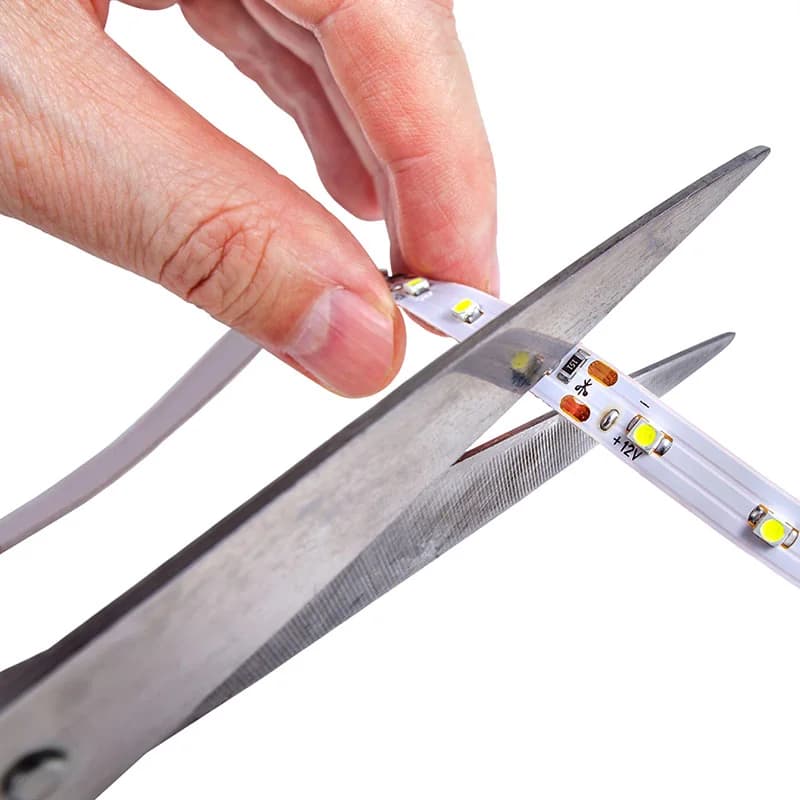
Cut only at the marked cut points. Use the specified soldered or solderless connection method, verify polarity and channels, and seal exposed connections where required.
Prepare the surface, install the aluminum profile and diffuser, test before final closure, manage heat and cable strain, then label drivers, zones, and service connections.
Final driver loading, cable sizing, protection, enclosure, control compatibility, connector current, sealing method, and installation practices must be confirmed for the selected products, site conditions, and applicable local requirements.
Choose single-color white, tunable white, RGB, RGBW, or addressable strip according to the required scenes and control experience. Then confirm voltage, watts per metre, LED density, output, color temperature, CRI, width, cut interval, protection level, and profile compatibility for the application.
There is no universal length. The practical run depends on strip voltage and wattage, conductor size, cable distance, permitted voltage drop, feed direction, connector current, controller capacity, and the manufacturer's maximum run guidance. Long projects are often divided into shorter parallel runs or supplied from additional feed points.
Start with strip watts per metre multiplied by installed metres for each zone. Select a driver with the correct output voltage, suitable capacity and design margin, compatible dimming method, appropriate enclosure, and operating conditions. Final loading and electrical protection should be confirmed for the selected driver and local requirements.
Cut only at the manufacturer's marked cut points, normally across the designated copper pads. Cutting elsewhere can damage a circuit segment. Before cutting, confirm the cut interval, channel layout, connector allowance, polarity, and the exact finished length needed.
Both methods can work when specified correctly. A connector must match strip width, pad layout, channel count, current, voltage, and protection requirements. Soldered leads may suit compact or demanding assemblies, while compatible solderless connectors can simplify repeatable field work. Always test the connection before final closure.
An aluminum profile provides straight mounting, physical protection, improved appearance, and a path for heat transfer. The diffuser, profile depth, LED density, viewing angle, and distance to the illuminated surface determine whether the finished line appears smooth or shows individual LED dots.
Outdoor protection is a system decision involving the strip construction, connector or solder joint, end caps, cable entries, sealant, enclosure, drainage, mounting orientation, and service access. Do not assume that a protected strip automatically makes every cut end or connector suitable for exposure.
Yes. We can configure strip, aluminum profile, diffuser, drivers, controllers, cable, connectors, mounting and sealing accessories, labels, replacement stock, and project-based packaging as one coordinated system.
Send drawings or photos, illuminated lengths, mounting details, indoor or outdoor conditions, preferred color and control, driver locations, and project quantity. We will help configure the complete system.